

Expand the Messaging node under Services and click JMS Servers and click New to create a new JMS Server.

Enter the name for JMS Server and click Next.
Name SampleJMSServer.

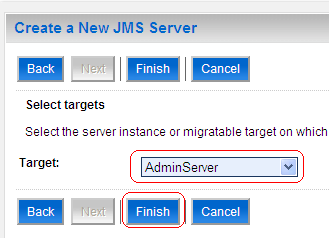
Select the target and click finish.

Now click on the JMS Modules and click new to create a new JMS Module.

Enter the name for JMS Module and click next.
Name SampleModule

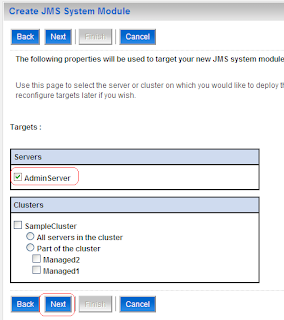
Select the targets and click next.
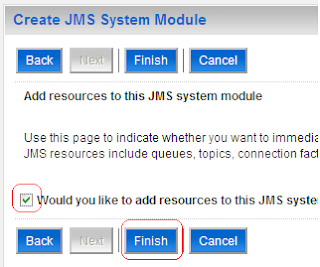
Now check the option and click finish.
Now Click on the subdeployments and click new to create a new subdeployment.

Enter the name for subdeployment and click next
Name SampleSubDeploy

Now select the target as SampleJMSServer and click finish.

Click on the configuration tab and click new to create a resource.

Select connection Factory and click Next to continue.

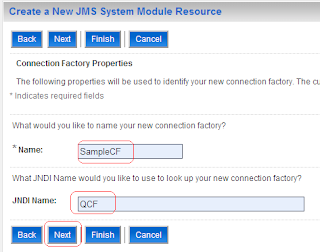
Enter the name and jndi name for connection factory and click next.
Name SmapleCF
JNDI Name QCF
Now click on Advance Targeting.

Select the subdeployments as SampleSubDeploy and click finish.

Now let us create another resource
Click on configuration and click new.

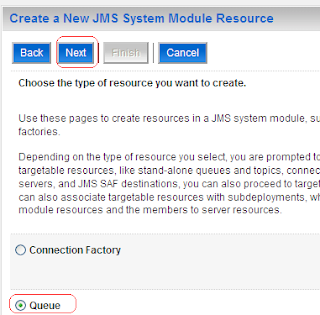
Select Queue and click next.
Enter name and Jndi name and click next.
Name SampleQ
JNDI Name TestQ

Select SampleSubDeploy for subdeployments and click finish.

That's it you're done with configuring JMS Queue.
Example:
Download the sample JMS Queue Example here, unzip it and copy the JMS folder to your domain.
First set the environment as shown below
Open a command prompt and navigate to the domain bin and enter the following command
setDomainEnv.cmd

Navigate to JMS folder and enter java QueueSend t3://localhost:7001

Now open another command prompt and set environment as shown above and enter the following command
java QueueReceive t3://localhost:7001

Enter the name for JMS Server and click Next.
Name SampleJMSServer.

Select the target and click finish.
Now click on the JMS Modules and click new to create a new JMS Module.
Enter the name for JMS Module and click next.
Name SampleModule

Select the targets and click next.

Now check the option and click finish.

Now Click on the subdeployments and click new to create a new subdeployment.

Enter the name for subdeployment and click next
Name SampleSubDeploy

Now select the target as SampleJMSServer and click finish.

Click on the configuration tab and click new to create a resource.

Select connection Factory and click Next to continue.
Enter the name and jndi name for connection factory and click next.
Name SmapleCF
JNDI Name QCF

Now click on Advance Targeting.

Select the subdeployments as SampleSubDeploy and click finish.

Now let us create another resource
Click on configuration and click new.

Select Queue and click next.

Enter name and Jndi name and click next.
Name SampleQ
JNDI Name TestQ

Select SampleSubDeploy for subdeployments and click finish.

That's it you're done with configuring JMS Queue.
Example:
Download the sample JMS Queue Example here, unzip it and copy the JMS folder to your domain.
First set the environment as shown below
Open a command prompt and navigate to the domain bin and enter the following command
setDomainEnv.cmd

Navigate to JMS folder and enter java QueueSend t3://localhost:7001

Now open another command prompt and set environment as shown above and enter the following command
java QueueReceive t3://localhost:7001

0 comments:
Post a Comment